

How To Draw Trees In The Background
Whether it'south beautiful red blossoms, fresh light-green trees, or autumn leaves turning scarlet and yellow, copse add seasonality and flair to your illustrations.
A background with a tree can be expressed past using tones and materials, only it is difficult to notice a tree that matches your image.
Then, here are some bones tips on how to depict a tree and then you can become the tree you envisioned.
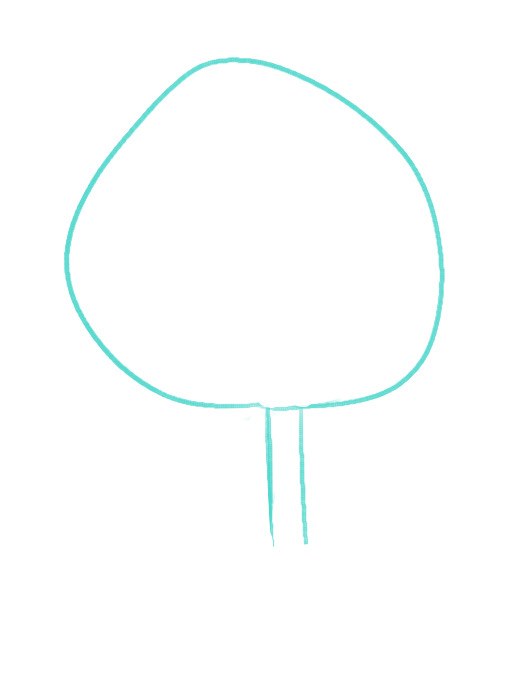
i. Draw the positioning of the leaves and trunk
The first stride is to draw the position of the tree and the size of the tree in which part of the tree volition exist drawn.
The tree tin be roughly divided into two parts, the leaf part and the trunk part, so I draw the positioning of these two parts first.
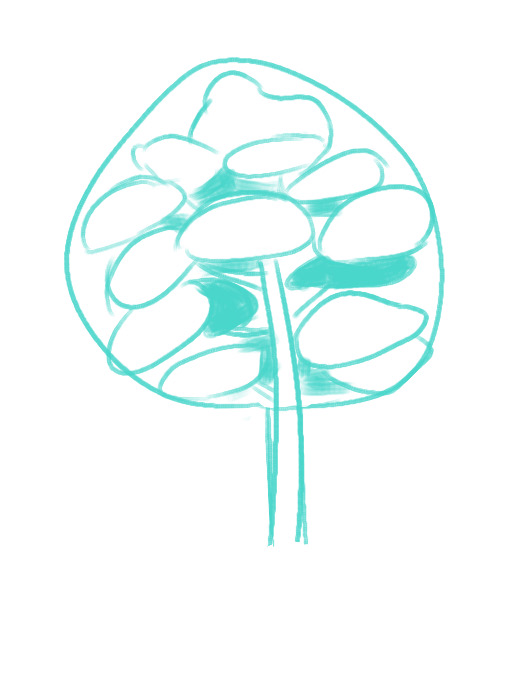
2. Draw the positioning of the leaf parts
When drawing a tree, the leaves are frequently the nearly disruptive part of the tree.
As yous can see in the photo of a tree with few leaves, the leaves are attached to each co-operative in a clump.
When you draw the leaves, yous should recollect of this clump equally one role of the tree and draw it as you get, so it'south easier to create a three-dimensional issue.
Once you accept fatigued the position of the leaves and torso, you can draw the position of each part roughly by referring to a photograph.
At this point, I draw a simple circumvolve to locate the parts without worrying about the shape of the leaves.
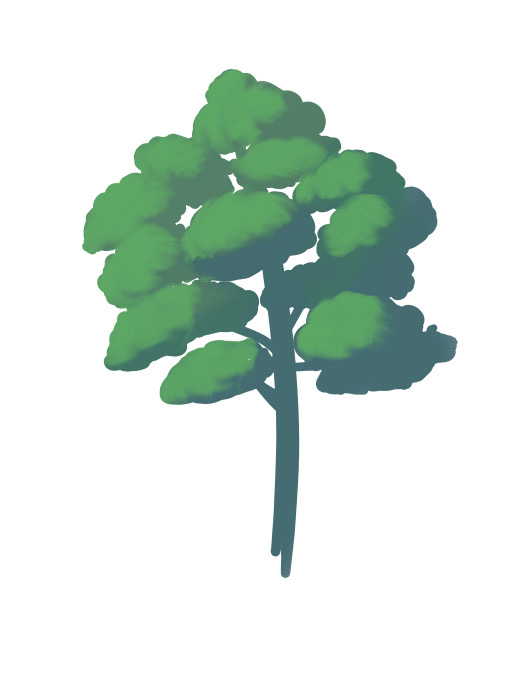
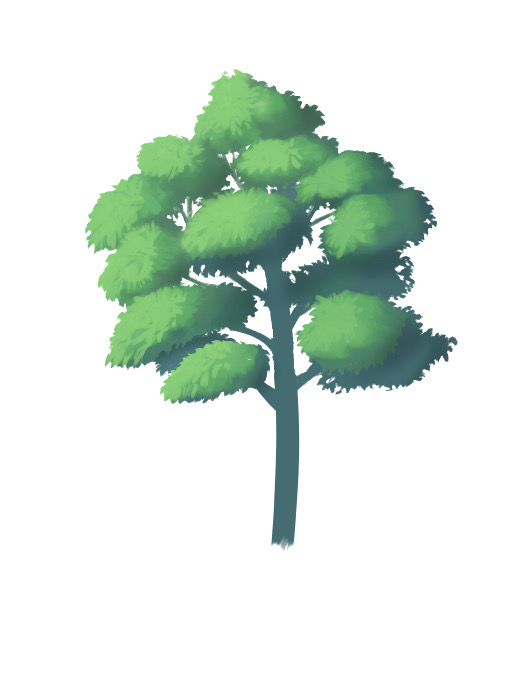
3. Draw the base
When the positioning is completed, create a new layer and draw the base in i color.
Choose a color for the darkest shadow prototype and describe the silhouette of the tree.
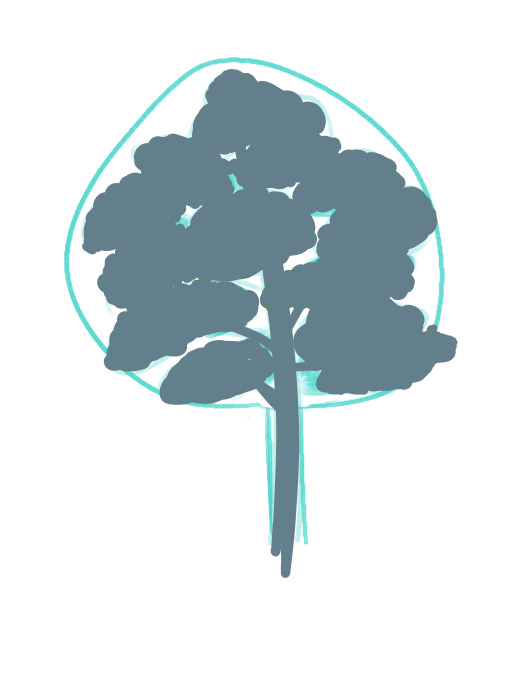
The sunlit areas appear xanthous and the shadows announced bluish.
Therefore, I have chosen a strong blue color for the shadows.
The underlying color can be adjusted to some extent by using filters after, so don't worry too much about the colour.
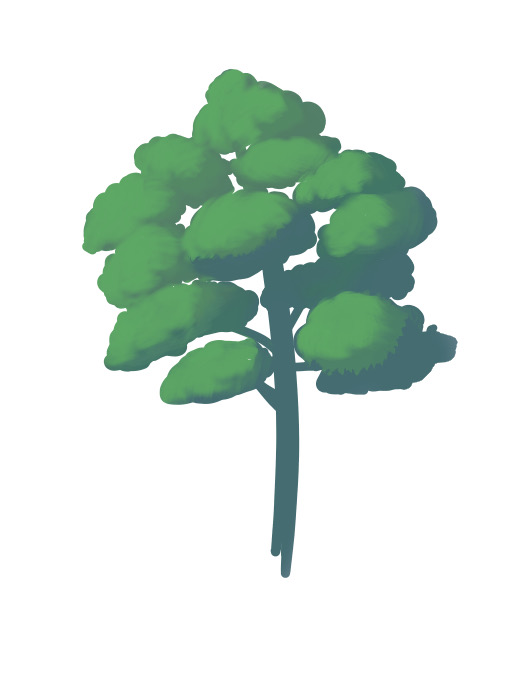
four. Add colour to the base
Once you lot've painted the primer, create a new layer on tiptop of the underlying layer and press the clipping button.
By doing this, y'all can colour only the underlying area, so let's roughly light and darken the underlying layer.
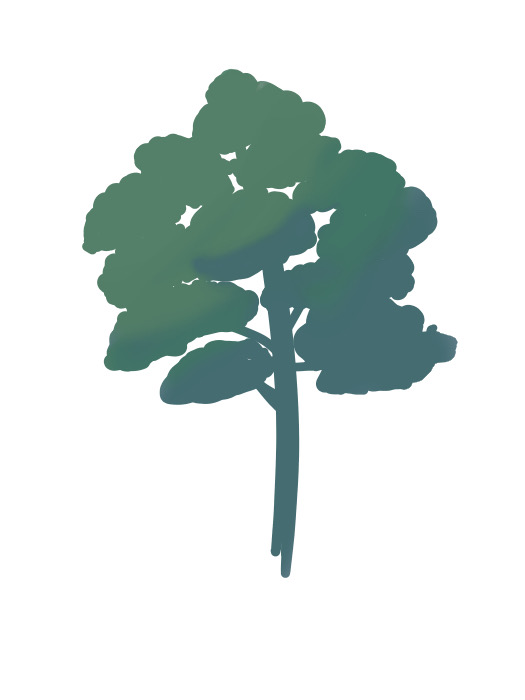
Here is an image of the light striking me from the summit left corner, making the yellow-green to blue color increasingly more than intense from the calorie-free to the dark.
(I'm using an airbrush.)
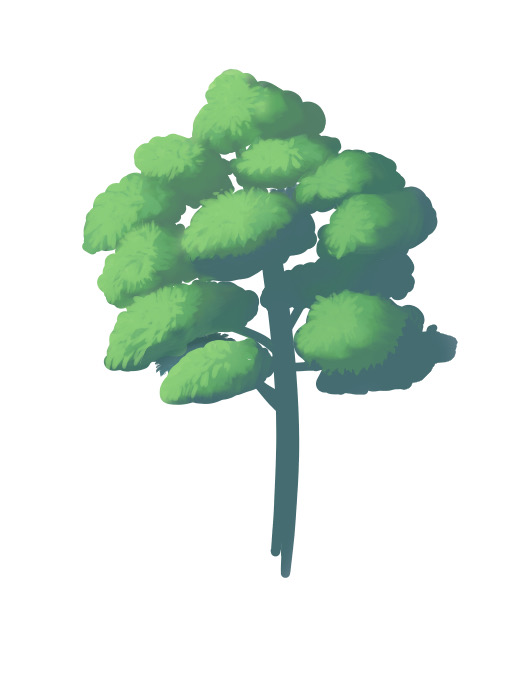
5. Painting the lightest office of the leaf
Once the base of operations is fatigued, create a new layer and draw the brighter parts of the leaves by clipping them.
What I'g using here is non a pen brush with a clear outline, but an acrylic brush that can be blurred past adjusting the castor pressure.
Since the expanse is exposed to the sunday, I will pigment it with a slightly yellowish green colour.
Over again, don't worry as well much well-nigh the shape of the leaves, just paint a firmer shape.
6. Connect the base and the light areas
The colors of the light areas and the darker areas underneath announced to be floating away from each other, so we'll add together an intermediate colour to alloy them in.
Create a new layer underneath the lite area layer and apply the neutral color past clipping.
7. Shine a soft low-cal
In one case the light areas and the base are blended in, now create a layer at the top and airbrush a soft light to bring out more calorie-free.

8. Painting the texture of leaves
I used a watercolour castor to add the chunky silhouette of the leaves to each part of the image, as it looks smooth equally it is.
9. Outline the leaves
Subsequently drawing the silhouette of the leaves on the part, it'south time to contour the entire image.
Trim the base layer and add leaves to make the silhouette look more similar that.
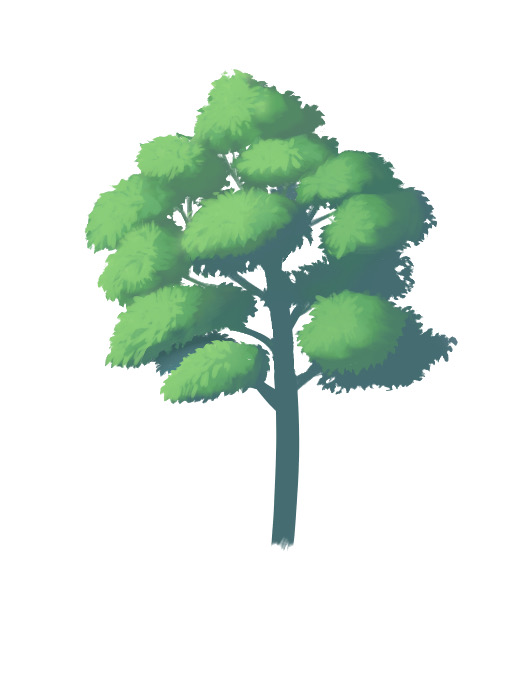
Here, the underlying layer is scraped off with a pen brush (transparent color).
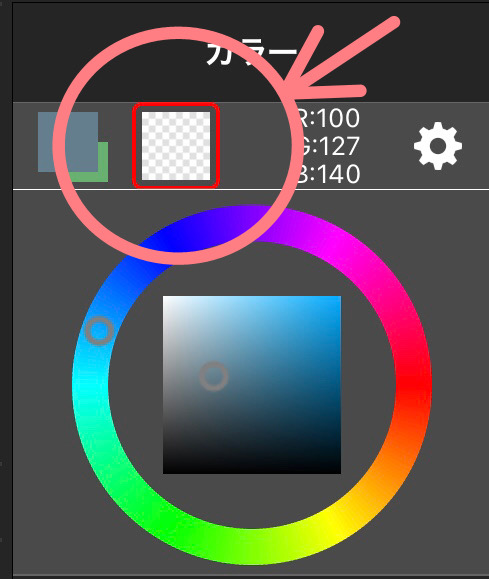
[How to choose a transparent colour]
Next to the color choice window square, there is a plaid square.
You lot can select a transparent color by pressing on this surface area.
ten. Calculation Shadows
Once the shape is in place, add a few more than darker shadows to requite it a crisp, iii-dimensional look.
Create a new layer at the top and clipping, and so use the airbrush to draw shadows on the leaves and other objects in the back of the image.
You tin larn more virtually finishing the tree, including highlights from the torso area after this, in the article How to Draw a Tree (2), which you can also refer to here.

Source: https://medibangpaint.com/en/use/2020/07/how-to-draw-tree-1/
Posted by: powellagar1989.blogspot.com
0 Response to "How To Draw Trees In The Background"
Post a Comment